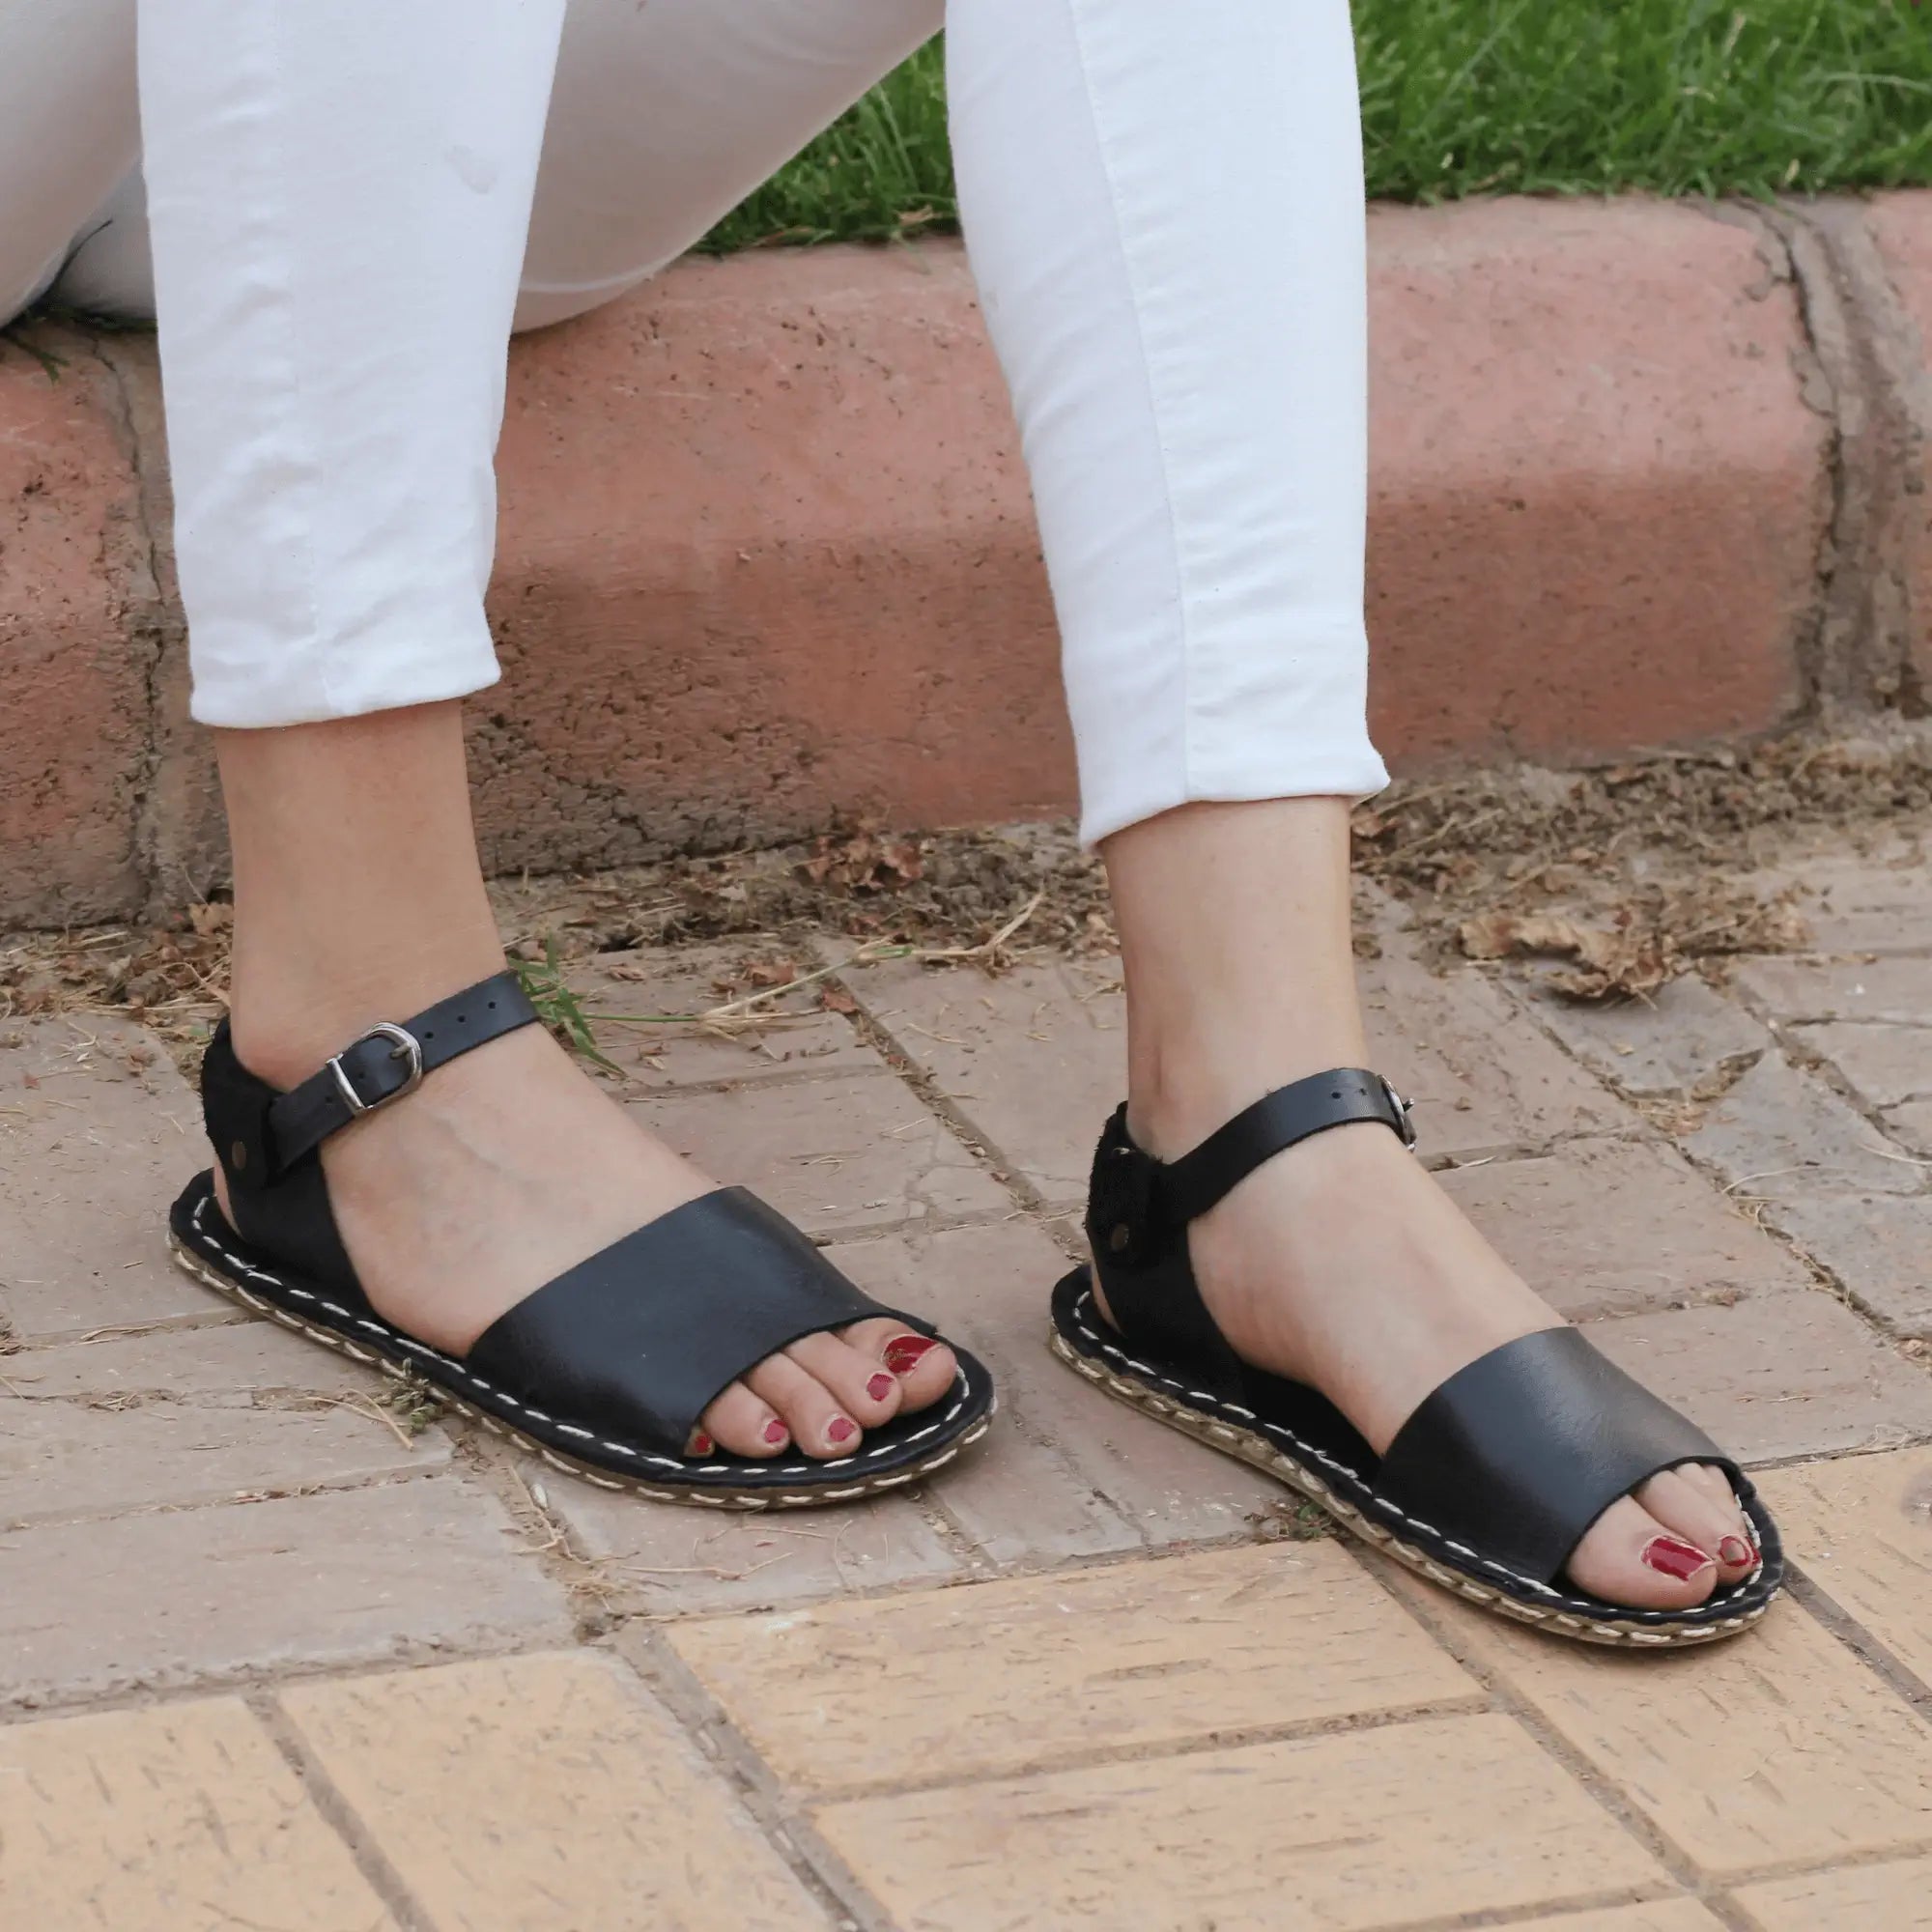
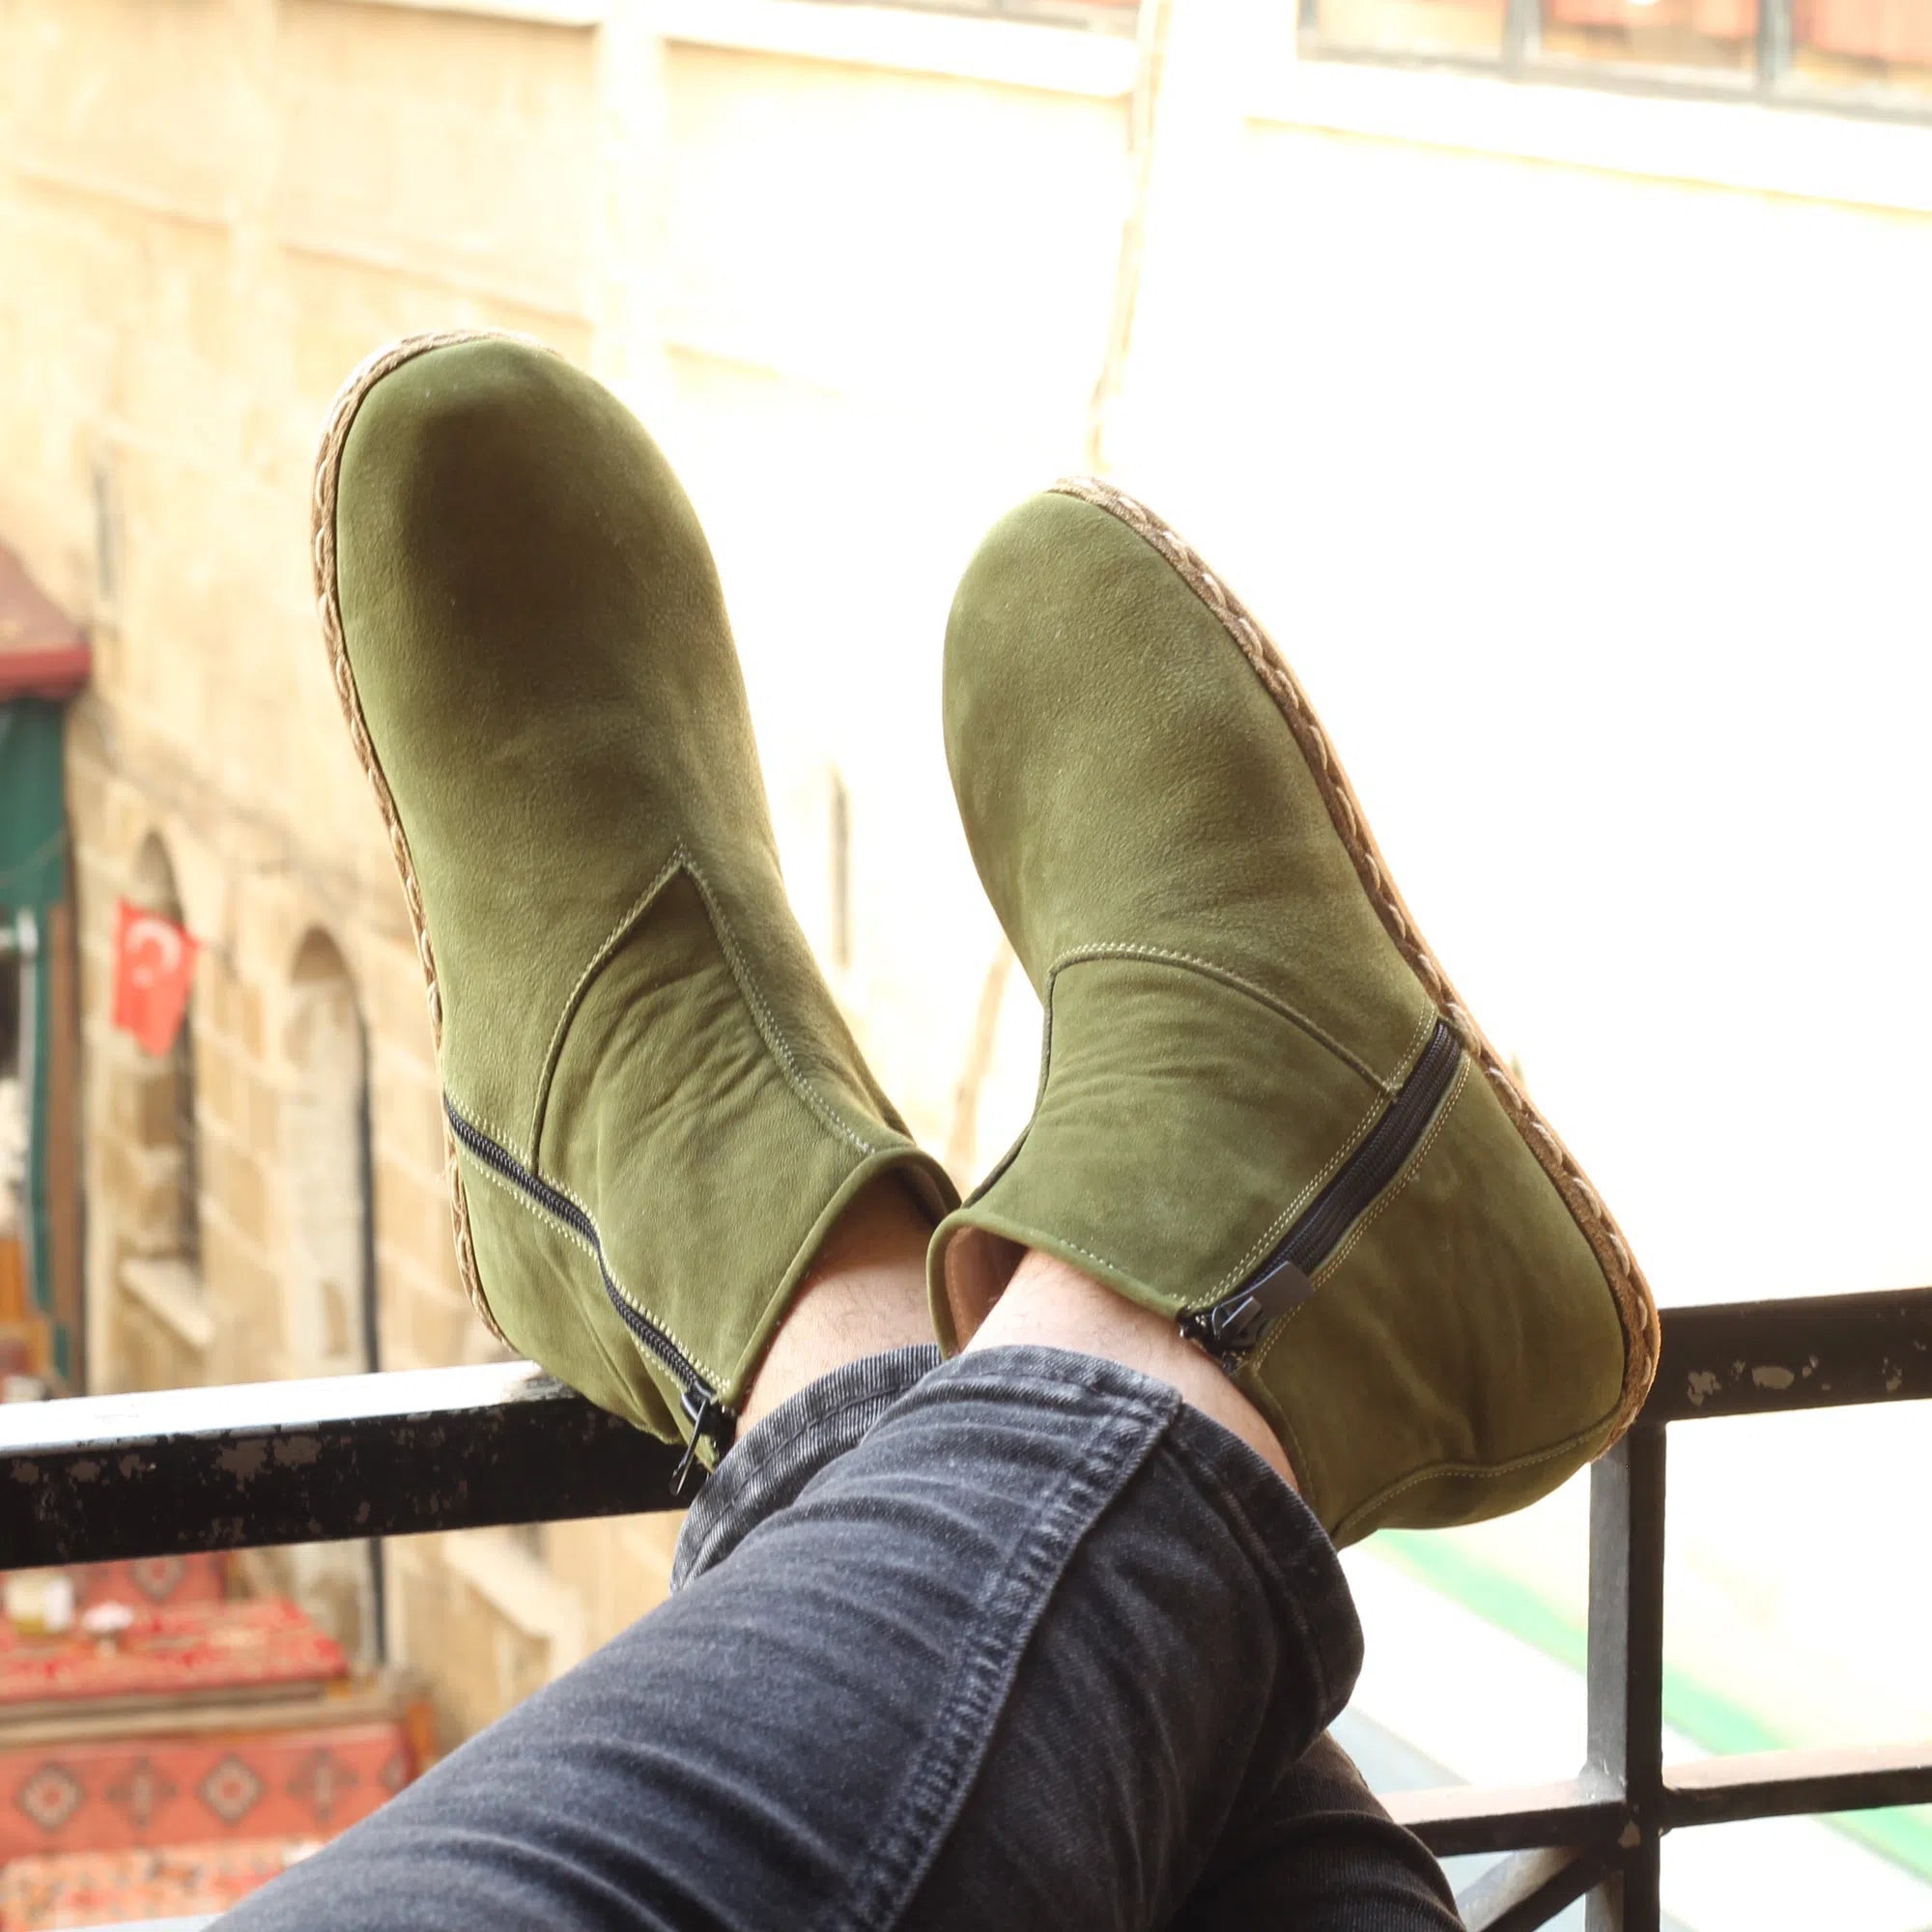
A shoe can look beautifully handmade and still trap your toes, tilt your body forward, and put a slab of synthetic material between you and the ground. Learning how to make your own barefoot shoes gives you a chance to reject that formula from the first cut of leather. You decide how much room your toes get, how close your feet stay to the earth, and which materials touch your skin.
This is not the fastest way to get footwear. It is a hands-on craft project that asks for patience, careful fitting, and respect for your feet. But a simple pair of homemade barefoot shoes can teach you more about natural movement than another conventional shoe ever will.
Start With Barefoot Principles, Not a Fashion Pattern
A true barefoot shoe does not merely have a thin sole. Its shape matters just as much. Build around these non-negotiables: a foot-shaped toe box, a zero-drop platform, a flexible sole, and secure but non-restrictive uppers.
The toe box should follow the widest part of your foot rather than tapering into a pointed, shoe-industry silhouette. Your big toe should point forward, not inward. Leave enough volume for your toes to spread when you stand and enough length for the foot’s natural forward movement while walking.
Zero drop means your heel and forefoot sit at the same height. Avoid adding a raised heel, even a modest one, to make the shoe look more familiar. Heel elevation can change how you stand and encourages the body to adapt around an artificial slope. A level sole lets your feet, ankles, and calves do their own work.
Flexibility is the final test. You should be able to bend the finished shoe easily through the forefoot and twist it gently. That does not mean the shoe must feel flimsy. It means the sole should move with your foot instead of acting like a rigid platform.
Choose Materials That Let Feet Breathe and Feel
For a first pair, a leather sandal, slip-on moccasin, or soft shoe is more realistic than a structured sneaker or hiking boot. Complex footwear needs a last, specialized machinery, and advanced pattern work. Start simple, then refine the fit.
Natural leather is a strong choice for uppers because it molds gradually to the foot, breathes well, and develops character with use. Vegetable-tanned leather is especially useful for projects where you want a firmer structure. Softer buffalo or cow leather can work beautifully for moccasin-style shoes and slippers. If you prefer non-leather options, choose a durable natural canvas, cork fabric, or tightly woven hemp, but expect less long-term shape retention.
For the outsole, your priorities compete slightly. A very thin leather sole offers excellent ground feel and can feel especially connected outdoors, but it wears faster on rough pavement and becomes slippery when wet. Thin natural rubber is more durable and dependable in varied conditions, although it creates more separation from the ground. A practical first build often uses a 3 to 5 mm flexible rubber outsole, with a leather insole against the foot.
You will need a few basic supplies:
- Paper or cardboard for templates
- A pencil, ruler, scissors, and a sharp utility knife
- Upper leather or sturdy natural fabric
- Flexible sole material
- Waxed thread, leather needles, and an awl or hole punch
- Contact cement suitable for leather and rubber
- Clips or clothespins, plus sandpaper for surface prep
Work in a ventilated space when using cement, and use a cutting mat or thick scrap board beneath your materials. Clean edges and careful glue work make a larger difference than expensive tools.
How to Make Your Own Barefoot Shoes From a Foot Template
The most reliable pattern starts with your actual feet, not a generic size chart. Feet can differ in length and width, so trace both. Stand naturally on a sheet of paper with your weight distributed evenly, then have someone trace around each foot as close to the skin as possible. Tracing your own foot while bending over can distort the outline.
Measure the longer foot from heel to longest toe. Add roughly 3/8 to 1/2 inch of length for walking space. Around the widest point, add enough width to preserve natural toe splay. If you are between sizes or prone to swelling, choose the roomier pattern. A barefoot shoe should feel secure at the midfoot and heel, not tight across the toes.
Cut out the paper sole shape and stand on it. Walk a few steps on it. If your toes hang over, widen it. If the heel slips outside the outline, adjust the heel cup area. This unglamorous fitting stage prevents the most common DIY mistake: creating a handmade version of the same narrow shoe your feet were trying to escape.
Make a Simple Moccasin-Style Upper
For an approachable closed shoe, use a one-piece vamp and side-wall construction. Place your paper sole pattern on the upper material and cut an upper piece that extends about 1 1/4 to 1 1/2 inches beyond the sole edge all the way around. This extra material will fold upward to become the shoe’s sides.
Mark the center front, center heel, and the widest points on both the sole pattern and leather. These reference points keep the upper aligned as you shape it. At the heel, cut a shallow slit from the edge toward the heel center, stopping before the sole line. Overlap the two sides until the upper curves around your heel comfortably, then mark and stitch that seam.
At the front, create a broad opening for the foot instead of a narrow, stiff throat. You can cut a U-shaped opening and add leather laces, elastic, or a simple buckle strap across the instep. Laces offer the most adjustable fit, which is helpful while you learn how the leather behaves. Keep tension over the instep only. Do not use closure hardware to pull the forefoot tight.
Before stitching, fold the leather edge upward around your foot-shaped sole template. Clip it in place and try it on gently. The upper should rise without pinching your little toes or collapsing onto your toenails. Trim and reshape now, because leather becomes less forgiving once glued and sewn.
Attach the Sole Without Making It Stiff
Trace your finished footbed onto the outsole material and cut it carefully. If using rubber, roughen the bonding surface with sandpaper. Do the same to the bottom edge of the leather upper. Remove dust, apply a thin coat of contact cement to both surfaces, and let it become tacky according to the adhesive directions before pressing the pieces together.
Start at the toe center, then align the heel center, and work outward along each side. This prevents the sole from drifting crooked. Press firmly, clip where possible, and allow the bond to cure fully.
For greater durability, stitch around the sole after gluing. Punch evenly spaced holes about 1/8 inch from the edge, then saddle stitch with waxed thread. Keep the stitches consistent but do not pull so hard that the leather puckers or the rubber compresses. A glued-and-stitched sole is slower, yet it is easier to repair than a shoe built to be disposable.
Fit-Test Before You Take Them Outside
Wear the shoes indoors for short periods first. Stand, squat, climb stairs, and spread your toes intentionally. Check whether your heel lifts, whether the upper rubs the Achilles area, and whether the toe box stays open when you bend your forefoot.
A little adjustment is normal. Leather will soften and contour to your feet, but pain is not a break-in requirement. If your toes feel crowded, the pattern is too narrow. If the shoe folds harshly across the top of the foot, reshape the opening or add a more forgiving closure. If your heel slips, add a small heel tab, a narrow ankle strap, or a slightly higher heel counter made from soft leather.
Also transition wisely if you have spent years in thick, elevated shoes. Thin, flexible footwear asks more from the feet and lower legs. Begin with short walks, then increase wear time as your calves and feet adapt. Natural movement is worth rebuilding, but your body deserves a gradual return to it.
Let the First Pair Teach You
Your first homemade barefoot shoes may show uneven stitches, a scuffed edge, or a pattern change you wish you had made sooner. That is not failure. It is evidence that you made something for a human foot rather than a factory line.
Pay attention to what your feet tell you after wearing them. More room at the toes, a softer heel seam, a thinner sole, or a better instep strap can transform the next pair. Keep your pattern, mark your revisions, and let every step move you closer to footwear that feels less like a container and more like freedom.